Step 1: Create a New Bot
- Log in to your QuickBot Dashboard
- Click “Create New Bot”
- Choose “Start from Scratch” or select a template
- Name your bot “Customer Support Bot”
- Click “Create Bot”
Step 2: Design the Welcome Flow
Add a Welcome Message
- In the editor, you’ll see a starting block
- Click on it to edit
- Change it to an Agent Text Block
- Add this welcome message:
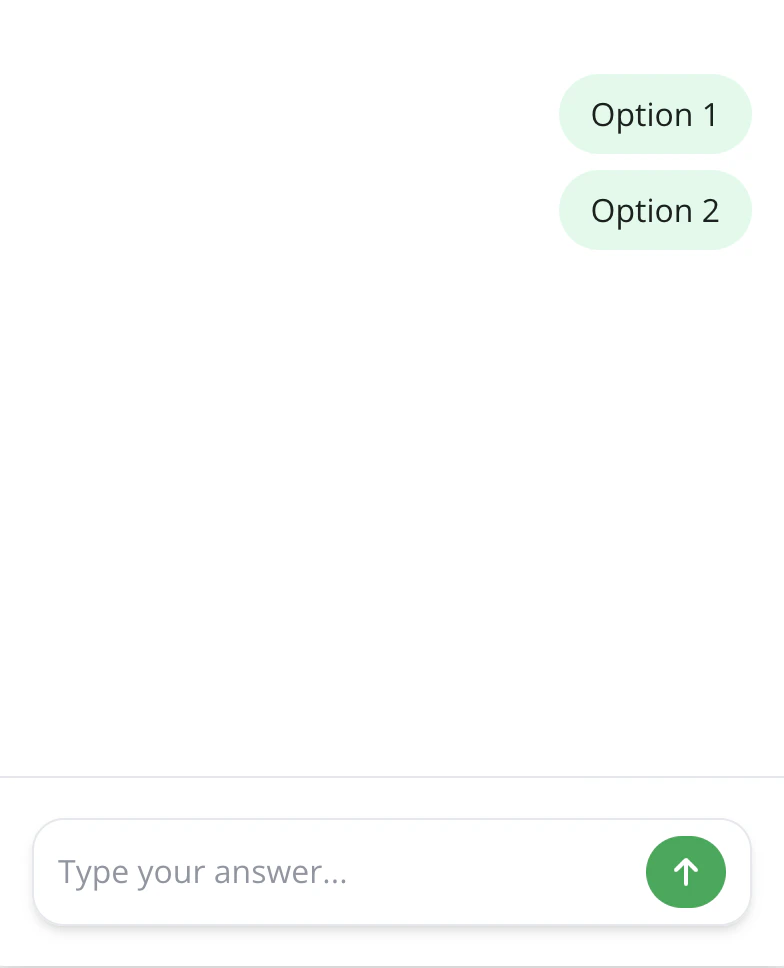
Add Menu Options
- Connect a User Buttons Block after the welcome message
- Add these button options:
- “Product Information” →
product_info - “Technical Support” →
tech_support - “Billing Questions” →
billing - “Speak to Human” →
human_agent
- “Product Information” →
Step 3: Create Response Paths
Product Information Path
- Add a Logic Condition Block
- Set condition:
{{button_response}} === "product_info" - If True, connect an Agent Text Block:
- Add User Buttons: “Yes, show pricing” and “No, thanks”
Technical Support Path
- Add another Logic Condition Block
-
Set condition:
{{button_response}} === "tech_support" -
If True, connect a User Text Block:
- Question: “Please describe the technical issue you’re experiencing”
- Variable:
tech_issue_description
- Then add an Agent Text Block:
Step 4: Add Data Collection
Contact Information Form
For the human agent path, collect user details:-
User Text Block - Name
- Question: “What’s your name?”
- Variable:
user_name
-
User Email Block - Email
- Question: “What’s your email address?”
- Variable:
user_email
-
User Text Block - Message
- Question: “Please describe how we can help you”
- Variable:
user_message
Confirmation Message
Add a final Agent Text Block:Step 5: Test Your Bot
Use the Preview Feature
- Click the “Preview” button in the top right
- Test each conversation path:
- Try all button combinations
- Fill out the contact form
- Verify variables are captured correctly
- Check that messages display properly
Common Issues to Check
Step 6: Customize the Appearance
Theme Settings
- Go to the Theme tab
-
Customize colors to match your brand:
- Primary color: Your brand color
- Background: Light or dark theme
- Chat bubble colors
- Upload your logo/avatar image
- Adjust font settings
Custom CSS (Optional)
Add custom styling for advanced customization:Step 7: Advanced Features
Add Integrations
Enhance your bot with integrations:- Email Integration: Send notifications when users contact support
- Google Sheets: Log all conversations for analysis
- HTTP Request: Send data to your CRM or support system
Logic Improvements
Add more sophisticated logic:- Business Hours Check: Route to different responses based on time
- User Type Detection: Customize responses for different user segments
- Follow-up Questions: Create branching conversations based on user responses
Next Steps
Deploy Your Bot
Learn how to publish your bot to your website
Explore Blocks
Discover all available block types and features
Add Integrations
Connect your bot with external services
View Analytics
Track your bot’s performance and user engagement